
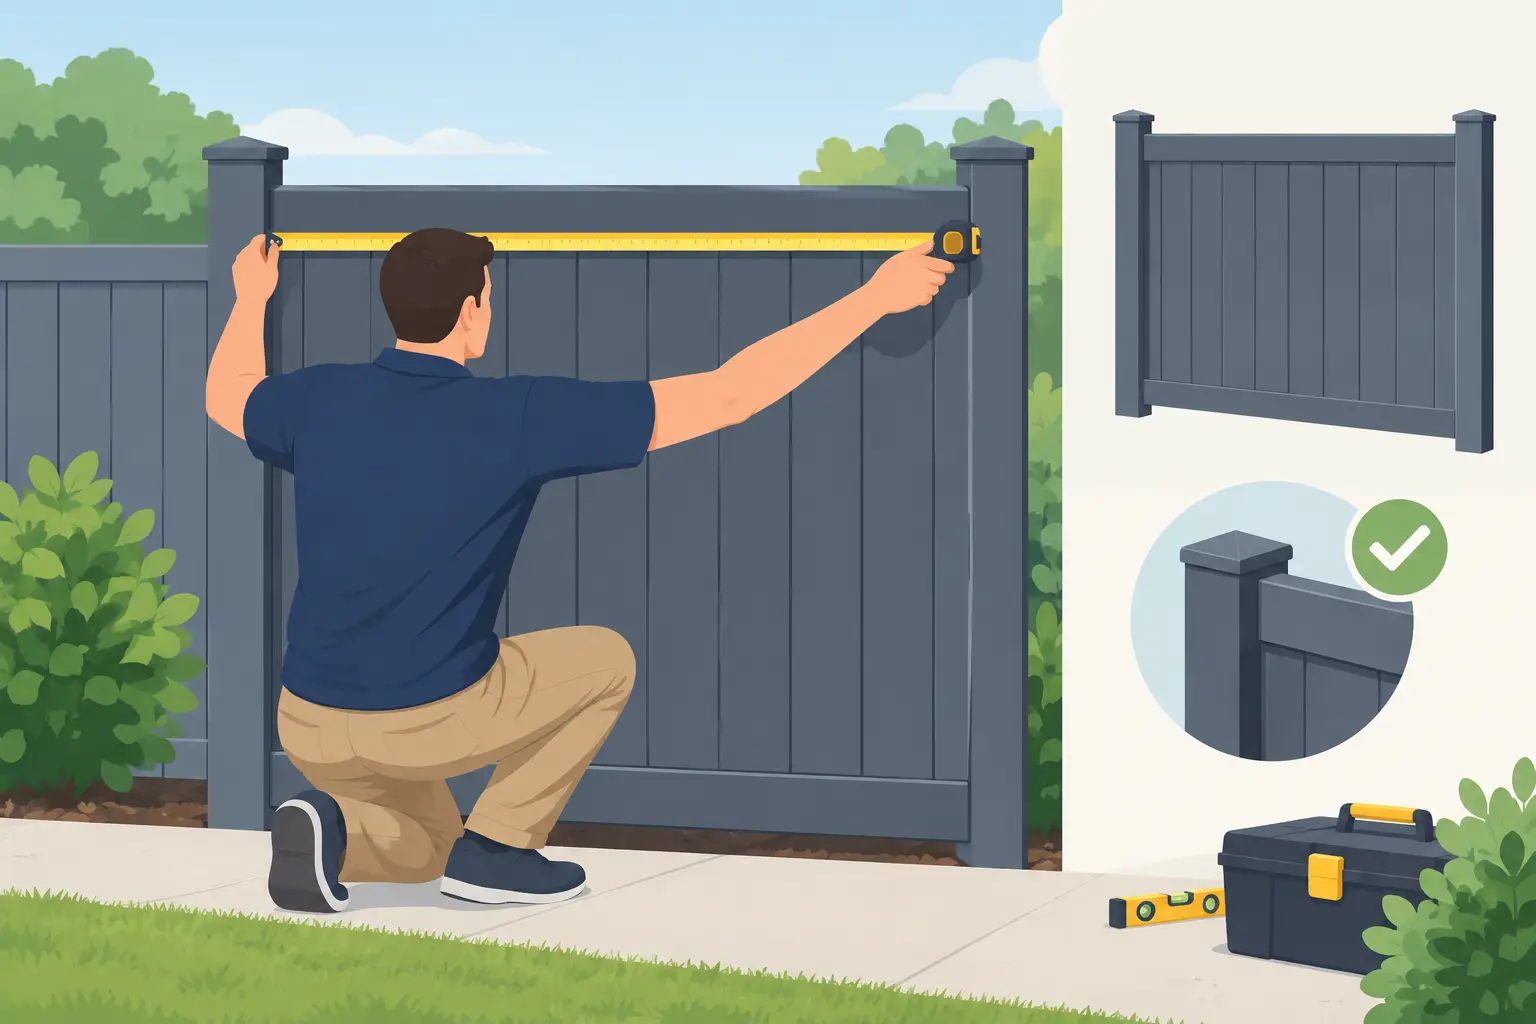
A fence can look perfectly straightforward from the street, but the measurements behind it rarely are. A few inches missed at a corner, gate, or slope can leave you with panels that do not fit, posts in the wrong place, or an awkward partial section at the end. Knowing how to measure fence panels before ordering materials helps you plan a cleaner installation, set a more accurate budget, and avoid costly adjustments once work begins.
For New Jersey homeowners, measuring is also about planning responsibly. Property lines, utility locations, municipal rules, and the natural grade of your yard all affect where a fence can go and how its panels should be laid out.
Start with the Fence Line, Not the Panels
The first measurement is the total length of the proposed fence line. Walk the route from one end to the other and measure every straight run separately. Do not rely on a rough estimate based on the size of the yard or a property listing. A backyard that appears rectangular may have angled lot lines, planting beds, retaining walls, or offsets around a patio or air-conditioning unit.
Use a long tape measure or measuring wheel and record each run in feet and inches. Measure along the actual path where the fence will sit, not in a straight line across the yard. If the fence turns at a corner, stop the measurement at that point and begin a new one for the next run.
A practical field notebook makes a difference here. Sketch the yard, label each side, and mark the house, driveway, sheds, trees, utility equipment, gates, and any changes in elevation. The sketch does not need to be architect-quality. It simply needs to show the conditions that affect installation.
Before finalizing a layout, confirm your boundary. Existing fences are not always installed directly on a property line, and an old row of shrubs is not legal proof of where your lot ends. A current survey is the most dependable reference when a fence will be close to a boundary. In tight neighborhoods throughout Middlesex and Union counties, this step can prevent a small measuring mistake from becoming a neighbor dispute.
Tools That Make Measuring More Reliable
You do not need a truck full of equipment to begin planning, but a few basic tools help produce usable numbers:
- A 100-foot tape measure or measuring wheel for long runs
- Stakes and string line to visualize the proposed route
- A level or string level to identify grade changes
- A notebook, pencil, and phone camera to document the layout
The string line is especially useful. Run it between temporary stakes where the fence is expected to go. You can quickly see whether it conflicts with a tree, slopes sharply, crowds a walkway, or needs to shift to accommodate a gate.
How to Measure Fence Panels Between Posts
Most fence panels are sold in standard widths, commonly 6 feet or 8 feet. That does not mean every installed section will measure exactly 6 or 8 feet from the outside of one post to the outside of the next. The key is understanding whether the manufacturer lists the panel width as the clear opening between posts or as a nominal section size.
For many wood, vinyl, composite, and aluminum systems, the panel fits between posts. The post width and brackets are additional parts of the overall fence layout. In that case, you need the manufacturer’s required spacing from post center to post center, or the exact clear distance between the inside faces of the posts. Never assume this dimension. A vinyl panel system may require a different allowance than a wood panel installed with rails and brackets.
Start by dividing the total length of one straight fence run by the planned panel width. For example, a 48-foot run works neatly with eight 6-foot panels. A 50-foot run does not. It may require eight panels with a narrower custom section, a change in layout, or a different panel width.
Avoid forcing a layout to fit standard panels if it puts a post in an inconvenient spot. A narrow filler section at the far end of a fence is often less noticeable than a post placed too close to a door, drain, tree trunk, or walkway. With wood fencing, a custom-built section is usually straightforward. With vinyl, aluminum, or composite fencing, planning the end section before materials are ordered is more important because components are system-specific.
Mark each proposed post location with a stake after calculating your sections. Then remeasure between stakes. This second pass catches small errors that add up across a long fence line.
Account for End Posts, Corner Posts, and Line Posts
Every fence layout uses different post types. End posts finish a run, corner posts join two directions, and line posts support straight sections between them. Gates need dedicated gate posts that are often larger or more heavily reinforced than ordinary line posts.
When you are calculating materials, count posts based on the layout rather than simply adding one post per panel. A straight run of eight panels needs nine posts: one at each end and seven between the panels. A corner post may serve two adjoining runs, but it must be positioned correctly for both sections.
Post dimensions also matter when working in a narrow space. A 4-by-4 wood post, a 5-by-5 vinyl post sleeve, and a heavier gate post consume different amounts of room. The fence may still cover the same total distance, but the clear opening available for each panel can change.
Measure Slopes Before Choosing a Fence Style
A yard that slopes even slightly can change the way fence panels are installed. Place a string line along the planned route and use a level to compare the height of the ground at different points. Measure the rise or fall over each panel-length section, rather than measuring the entire yard as one large slope.
There are two common approaches. A racked fence follows the contour of the ground, keeping the bottom of the fence closer to the grade. Many aluminum fences and some vinyl systems can rack within a limited range. A stepped fence keeps each panel level, then drops down at each post. This approach is common with wood privacy fencing and works well on steeper grades, though it can leave triangular gaps beneath sections if the ground is uneven.
The right choice depends on the material, the amount of slope, and what the fence needs to do. For pet containment, a large gap below a stepped panel may not be acceptable. For a decorative aluminum fence, racking can create a more natural appearance. Ask about the permitted rack range for the specific panel system before committing to a layout.
Measure Gate Openings Separately
A gate is not just another panel. It needs a clear opening, room for hinges and latch hardware, properly supported posts, and enough swing clearance to operate without hitting the ground, landscaping, or a parked vehicle.
First decide how the gate will be used. A 3-foot walk gate may be enough for daily foot traffic. A mower or trash-bin route may need 4 feet. Equipment access, pool service, or vehicle entry may require a double gate with a much wider opening.
Measure the usable opening you want after installation, then add the hardware allowances required by the gate system. The finished distance between gate posts is usually wider than the gate leaf itself. This is another area where product specifications matter. A gate that is ordered to the exact post-to-post opening may be too wide to hang correctly.
Also consider the grade at the gate. Gates need clearance beneath them, but too much space can compromise security or allow a pet to slip through. On a sloped yard, the swing direction may determine whether the gate opens freely.
Do Not Skip Local and Site Conditions
Accurate panel measurements are only useful if the planned fence can legally and safely occupy that space. Many New Jersey towns have requirements for fence height, placement, visibility near driveways, pool barriers, and permits. Rules can differ between front, side, and rear yards, so verify the requirements for your municipality before buying materials.
Call for utility marking before any post holes are dug. Underground electric, gas, communications, water, irrigation, and drainage lines may not be visible from the surface. If the fence route crosses near a utility box, meter, easement, retaining wall, or septic component, the layout may need adjustment.
For pool fencing, measurements should include every possible access point and account for required gate latches, self-closing hardware, and clearance rules. A pool barrier is a safety system, not simply a boundary line, so panel spacing and gate placement deserve extra care.
Turn Your Measurements into an Order List
Once the layout is staked and rechecked, calculate the number of full panels, partial sections, line posts, end posts, corner posts, and gate posts. Include caps, rails, brackets, fasteners, concrete, and gate hardware where applicable. Add a small allowance for cuts, mistakes, or material variation, particularly with wood fencing.
It is wise to measure every run twice before placing an order. If your layout includes a custom section, write down its required finished width and location clearly. “One short panel” is not enough information when materials arrive or installation begins.
For a straightforward square yard, homeowners can often produce a solid starting plan. For irregular lots, slopes, multiple gates, or premium materials such as vinyl, aluminum, Trex, or ornamental iron, professional field measuring is worth the time. Northeast Fencing, LLC can assess the full site condition, not just the footage, so the finished fence is secure, attractive, and built to fit the way you use your property.
A careful measurement does more than make panels line up. It gives your family, pets, and property a fence that feels planned from the first post to the final gate latch.