
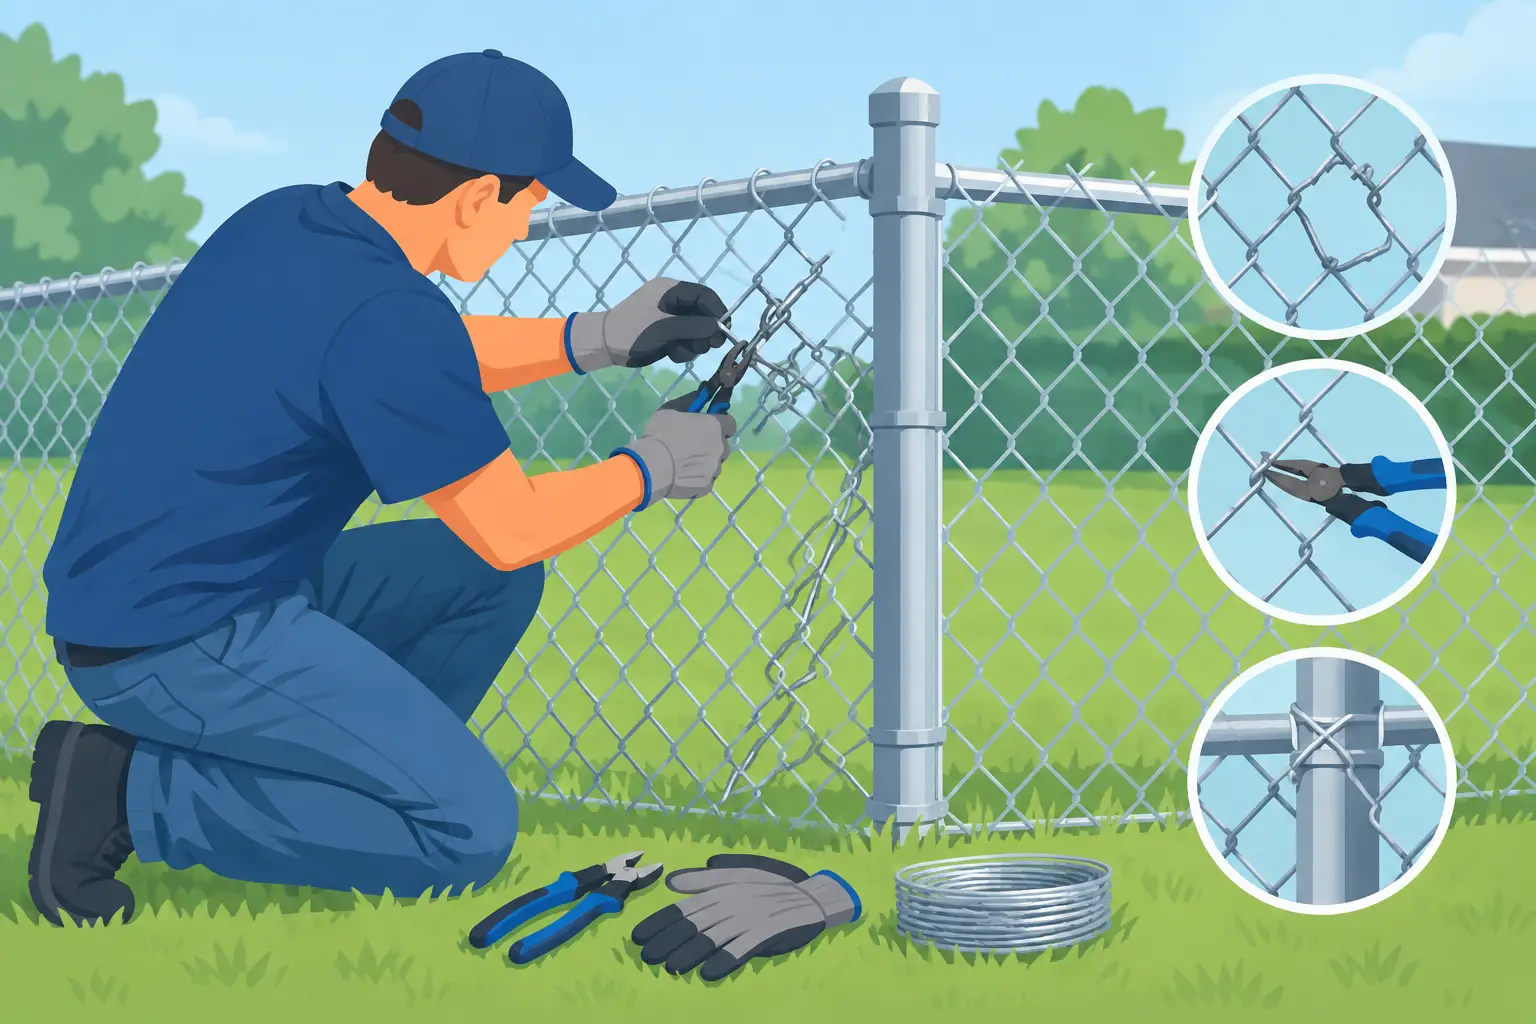
A chain-link fence does not have to be replaced because of one bad section. A torn fabric panel, sagging gate, loose tie, or bent top rail can often be repaired for far less than a full installation. Knowing how to repair chain link starts with identifying what actually failed: the mesh, the hardware, the rail system, or the post holding everything together.
For New Jersey homeowners, that distinction matters. Freeze-thaw cycles, wet soil, wind, fallen branches, active dogs, and everyday gate use can all create damage that looks similar from a distance but requires a different fix. A sound repair restores security, keeps pets and children safely contained, and prevents a small issue from pulling the rest of the fence out of line.
Start by Checking the Full Fence Line
Before buying materials, walk the fence from end to end. Look closely at the damaged area, but also inspect the posts and rails on either side. Chain-link fabric depends on tension. If a terminal post is leaning, a patch in the mesh alone will not stay tight for long.
Check whether the damage is limited to the fabric, such as a hole, cut wires, or a bent lower edge. Then look for loose fence ties, damaged tension bars, cracked rail ends, rusted hardware, or a top rail that has slipped out of place. At gates, check hinges, latches, and the gap beneath the gate. A dragging gate may be a hinge adjustment issue, but it can also signal a settling or shifting gate post.
If the fence is near a property line, avoid moving posts or expanding the fence line until you are confident about the boundary. This is especially important in closely spaced New Jersey neighborhoods where a few inches can become a costly disagreement.
Gather the Right Repair Materials
The materials depend on the repair, but most basic chain link jobs call for work gloves, safety glasses, pliers, wire cutters, a socket wrench or adjustable wrench, replacement fence ties, and galvanized chain-link wire. Matching the existing fence height and mesh size is important if you need replacement fabric.
For fabric replacement, you may also need a tension bar, tension bands, brace bands, rail ends, or a come-along fence stretcher. Galvanized parts are the usual choice for standard chain-link fencing. If the fence has a black, green, or brown vinyl coating, use matching coated fabric and ties whenever possible. A mismatched repair will still function, but it may stand out and can affect curb appeal.
Do not reuse heavily rusted or bent hardware simply because it is already on the fence. New hardware is inexpensive compared with the time required to take a section apart twice.
How to Repair Chain Link Fabric Holes and Tears
A small hole or cut in the mesh can usually be repaired without removing an entire fence section. First, straighten any bent wire ends with pliers. Then use galvanized repair wire to weave through the opening and wrap it around the surrounding mesh. Twist the ends tightly, trim excess wire, and bend sharp ends inward so they do not catch clothing, skin, or a pet's collar.
This method works best for minor damage in an otherwise tight fence. The repair should follow the diamond pattern of the mesh rather than simply crossing over the hole. That helps the patched area hold its shape and look less obvious.
For a larger opening, cut out the damaged portion cleanly. Cut a replacement piece slightly larger than the opening, align its diamonds with the existing fabric, and weave it into place using a continuous length of repair wire. The patch needs to be tight enough that a dog cannot push through it, but not so tight that it distorts the fabric around it.
A patch is practical for a localized problem. If the fabric is rusty, stretched across a long span, or damaged in several places, replacing the full section is usually the better value.
Replacing a Damaged Chain Link Fence Section
When the mesh has been crushed by a tree limb, pulled apart in a vehicle impact, or stretched beyond repair, replacing the section produces a cleaner and more dependable result. Begin by removing the fence ties from the top rail and line posts along the affected span. If the fabric is secured between terminal posts, loosen the bolts holding the tension bars and remove the old fabric.
Chain-link fabric is made in interlocking spirals. To separate a section, rotate one vertical wire out of the mesh rather than cutting through every strand. This creates a clean edge and makes it easier to connect new fabric.
Install the replacement fabric with the diamonds oriented the same way as the existing fence. Attach one side to the terminal post with a tension bar and tension bands. Pull the fabric tight across the span using a fence stretcher or come-along, then secure the opposite side with its tension bar and bands. The fabric should be firm and spring back slightly when pressed, without bowing or rippling.
Finish by installing fence ties along the top rail and line posts. Space them consistently with the existing fence, usually closer together near areas that receive pressure from pets or frequent use. Trim and bend the tie ends neatly toward the fence so they are not exposed.
Fixing Loose Rails, Posts, and Hardware
A loose top rail may have slipped from a rail end or separated at a sleeve. Start by checking whether the terminal posts are solid. If they are stable, the repair may be as simple as realigning the rail and replacing the damaged rail end, brace band, or sleeve.
Leaning line posts deserve more attention. Soil can shift after heavy rain, or the concrete footing may have cracked below grade. If the post is only slightly out of line and the concrete is intact, loosening the fabric and rails may allow it to be reset and braced. If the post moves freely in the ground, the reliable repair is to remove the old footing and reset the post in fresh concrete at the correct depth and alignment.
Terminal posts, corner posts, and gate posts carry the greatest load. Do not try to straighten one by pulling it with a vehicle or ratchet strap while the fabric remains attached. That can bend rails, tear mesh, or create an unsafe snap-back hazard. The fabric should be released first, and the post should be reset correctly rather than forced into place.
Repairing a Sagging or Misaligned Gate
A gate that drags across the driveway or lawn can make an otherwise good fence frustrating to use. First, tighten the hinge bolts and check that the hinges are secure to a solid gate post. Many sagging gates can be corrected by adjusting the hinge position or adding a gate support cable with a turnbuckle.
If the gate frame itself is out of square, inspect the corners and diagonal brace. A square frame has equal diagonal measurements from corner to corner. If one diagonal is longer, the frame has racked and may need to be repositioned before the mesh is tightened again.
Also check the latch. A latch that no longer catches may be caused by a shifted post, not a bad latch. Replacing the latch without addressing the alignment issue often leads to the same problem a few weeks later.
Know When a Professional Repair Is the Smarter Choice
Basic fabric patches and replacement ties are manageable for many property owners. Repairs become more complex when a fence includes damaged terminal posts, buried concrete, long stretches of loose mesh, a heavy commercial gate, or a fence installed on uneven ground. Utility lines, drainage conditions, local rules, and property boundaries can also affect the work.
For those situations, a professional inspection can save time and prevent a repair that fails after the next storm or winter season. Northeast Fencing, LLC helps homeowners and businesses across New Jersey evaluate whether a targeted repair will extend the life of the fence or whether a replacement section makes better long-term sense.
A properly repaired chain-link fence should disappear into daily life: the gate closes cleanly, the mesh stays tight, and the yard remains secure. Address damage early, before one loose section has the chance to pull the entire fence line out of shape.