
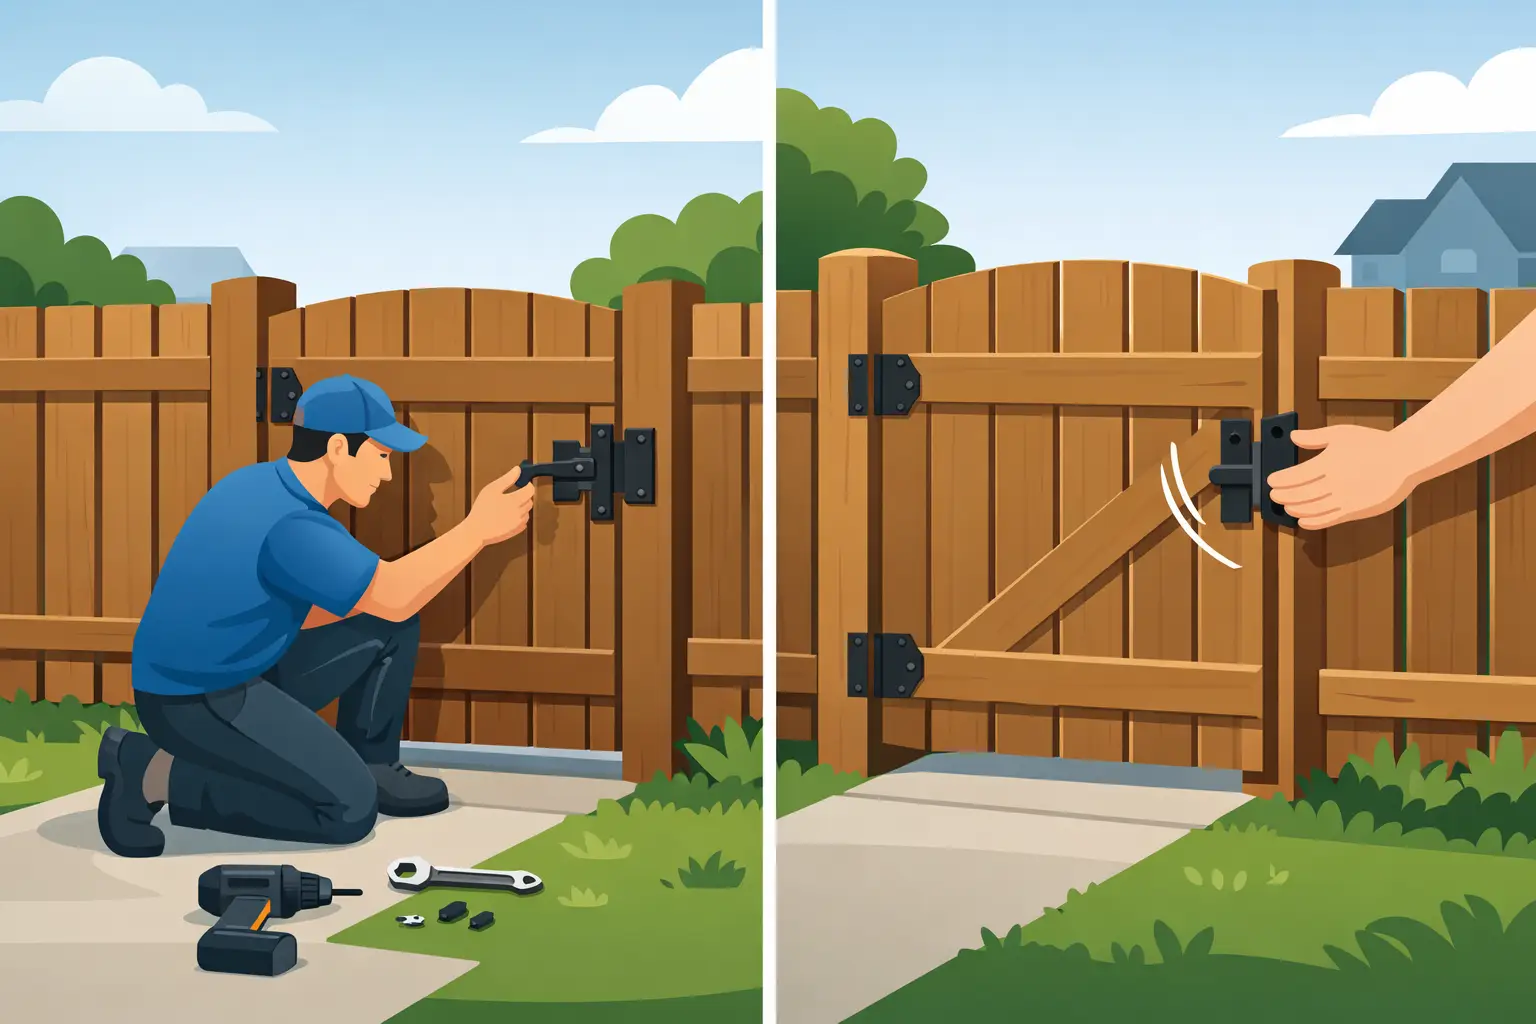
A fence gate can look perfect on installation day and still become a daily frustration if the posts shift, the opening is too tight, or the latch is installed out of alignment. Learning how to install fence gates starts with treating the gate as a working part of the fence, not an afterthought. It needs room to swing, strong posts to carry its weight, and hardware that keeps children, pets, and property secure.
For a lightweight walk gate, a careful homeowner may be able to handle the work. Wide driveway gates, pool gates, sloped yards, and heavy wood or composite panels require more planning. In New Jersey, freeze-thaw cycles and wet soil can expose small installation mistakes quickly, especially when a gate is attached to undersized or poorly set posts.
How to Install Fence Gates: Plan the Opening First
Before digging, decide which way the gate should swing. Most residential gates swing inward so they do not open across a sidewalk, driveway, or neighboring property. Check for grade changes, landscaping, stairs, retaining walls, air-conditioning equipment, and vehicles that could block the path of the gate.
Measure the finished gate opening, not just the gate panel. The opening must account for hinges, latch hardware, and clearance on both sides. A common single gate needs a small hinge-side gap and a slightly larger latch-side gap, plus clearance below the bottom rail. The exact spacing depends on the hinge and latch manufacturer, so use the hardware specifications rather than guessing.
For a gate over about 4 feet wide, weight becomes a major factor. A wider opening may perform better as a double gate, with two smaller leaves meeting in the middle. That setup can reduce strain on the hinge post, although it adds a center latch or drop rod and requires more hardware adjustment.
Call 811 before digging so underground utilities can be marked. Also confirm property lines, local setback requirements, and pool-code rules where applicable. A gate that is installed on the wrong side of a property line or fails to meet safety requirements is costly to correct after the fence is complete.
Set Gate Posts for Strength, Not Just Appearance
Gate posts carry more stress than line posts. Every time the gate opens, closes, catches the wind, or is pushed by a child or dog, that force transfers directly to the hinge post. Use posts sized for the gate material and weight. A heavy privacy gate should not be hung from the same light-duty post used for a short run of picket fence.
Dig post holes deep enough for local conditions and the finished fence height. In much of New Jersey, gate posts should extend well below the frost line or follow the depth required by local codes and site conditions. A practical rule is that deeper, wider holes are needed for taller and heavier gates. The soil also matters. Loose, sandy, or consistently wet ground may call for larger footings or a different installation approach.
Set the hinge and latch posts plumb in both directions. Do not rely on the fence line alone to judge them. Use a level on adjacent faces of each post, brace the posts firmly, and recheck them after concrete is placed. A post that leans even slightly can cause a gate to swing open on its own, scrape the ground, or refuse to latch.
Allow concrete to cure before hanging a heavy gate. Rushing this step is one of the easiest ways to pull a post out of alignment. If the gate is part of a wood fence, allow for the natural movement of lumber as moisture changes. Wood can shrink, twist, and sag over time, which is why bracing and quality hardware matter.
Build or Check the Gate Frame
A square gate frame is essential. Measure diagonally from corner to corner. If both diagonal measurements match, the frame is square. If they do not, adjust the frame before attaching pickets, boards, or panels.
Wood gates need a diagonal brace that runs from the bottom hinge-side corner up to the top latch-side corner. This direction supports the weight of the gate and helps prevent sagging. A brace installed in the opposite direction may look similar but will not carry the load properly.
Vinyl, aluminum, ornamental iron, and chain-link gates are usually built from manufacturer-designed frames. Follow the system instructions for rails, tension bars, brackets, and reinforcement. Mixing hardware from different systems can create fit issues and may reduce the gate's long-term performance.
Hang the Gate with Proper Clearance
Install the hinges on the gate and hinge post according to the hardware layout. For many gates, the top hinge sits several inches below the top of the frame and the bottom hinge several inches above the bottom. Heavy or tall gates may need a third hinge to distribute the load.
Use temporary wood blocks under the gate to hold it at the correct finished height while attaching the hinges. This is more accurate than trying to hold the gate in place by hand. Keep enough ground clearance for grass growth, snow, leaves, and minor movement in the soil. A gate that barely clears the ground in summer may drag badly after a winter frost heave.
Once the hinges are secured, open and close the gate several times before installing the latch. Watch the gaps around the frame. The spacing should remain consistent, and the gate should not rub the post, panel, or ground. If it sags immediately, stop and correct the hinge placement, post alignment, or frame support before moving on.
For double gates, hang each leaf separately and verify that both are level before setting the center latch. Add drop rods to anchor one leaf when the other is opened frequently. On a driveway gate, a center stop can help keep both leaves aligned when closed.
Install the Latch and Safety Hardware
Position the latch only after the gate swings freely and rests where it should. Mark the latch location with the gate closed, then install the catch or striker so the latch engages without lifting, pushing, or slamming the gate. A latch that needs force to close will wear out faster and encourages people to leave the gate unlatched.
Choose hardware based on the job. A basic gravity latch may suit a backyard walk gate, while a lockable latch is a better fit for side yards, commercial areas, or gates that secure tools and equipment. Self-closing, self-latching hardware is often required for pool barriers and is a smart added safeguard around children.
Check that the latch cannot be easily reached through the fence by a child, pet, or person outside the yard. Pool gates have particularly strict requirements for latch height, opening direction, and self-closing action. Follow the applicable code instead of relying on a standard residential gate layout.
Match the Installation to the Fence Material
The principles stay the same, but the details change by material. Wood and cedar gates offer a traditional look and easy customization, but they need strong framing and periodic inspection for warping or sagging. Vinyl gates stay low-maintenance but can require metal reinforcement inside the posts or rails, particularly on wider openings.
Aluminum and ornamental iron gates are durable and clean-lined, making them popular for pool enclosures and front-yard boundaries. Their hardware must be aligned precisely because there is less room to hide an uneven opening. Chain-link gates are practical for pet areas, commercial properties, and utility spaces, but tension and hinge alignment still determine whether the gate operates smoothly.
Composite and Trex-style gates can be attractive and long-lasting, yet they are often heavier than homeowners expect. Their added weight may require upgraded posts, hinges, and reinforcement. The best material is not simply the one that matches the fence. It is the one that suits the gate width, security needs, maintenance expectations, and traffic the opening will receive.
Know When a Professional Installation Makes Sense
A simple preassembled gate can be a manageable project when the opening is level, the posts are new and solid, and the hardware is designed for the system. The risk rises when you are working with uneven terrain, existing leaning posts, a custom-sized opening, a gate wider than a standard walk gate, or a required pool barrier.
Professional installers can account for site drainage, soil conditions, local code requirements, material weight, and the small adjustments that keep a gate working after seasons of use. For homeowners and businesses across New Jersey, Northeast Fencing, LLC can build and install gates that match the fence while keeping safety, security, and daily use in focus.
A properly installed gate should feel simple every time you use it: it swings without dragging, closes without force, latches securely, and remains aligned long after the fence project is finished.