
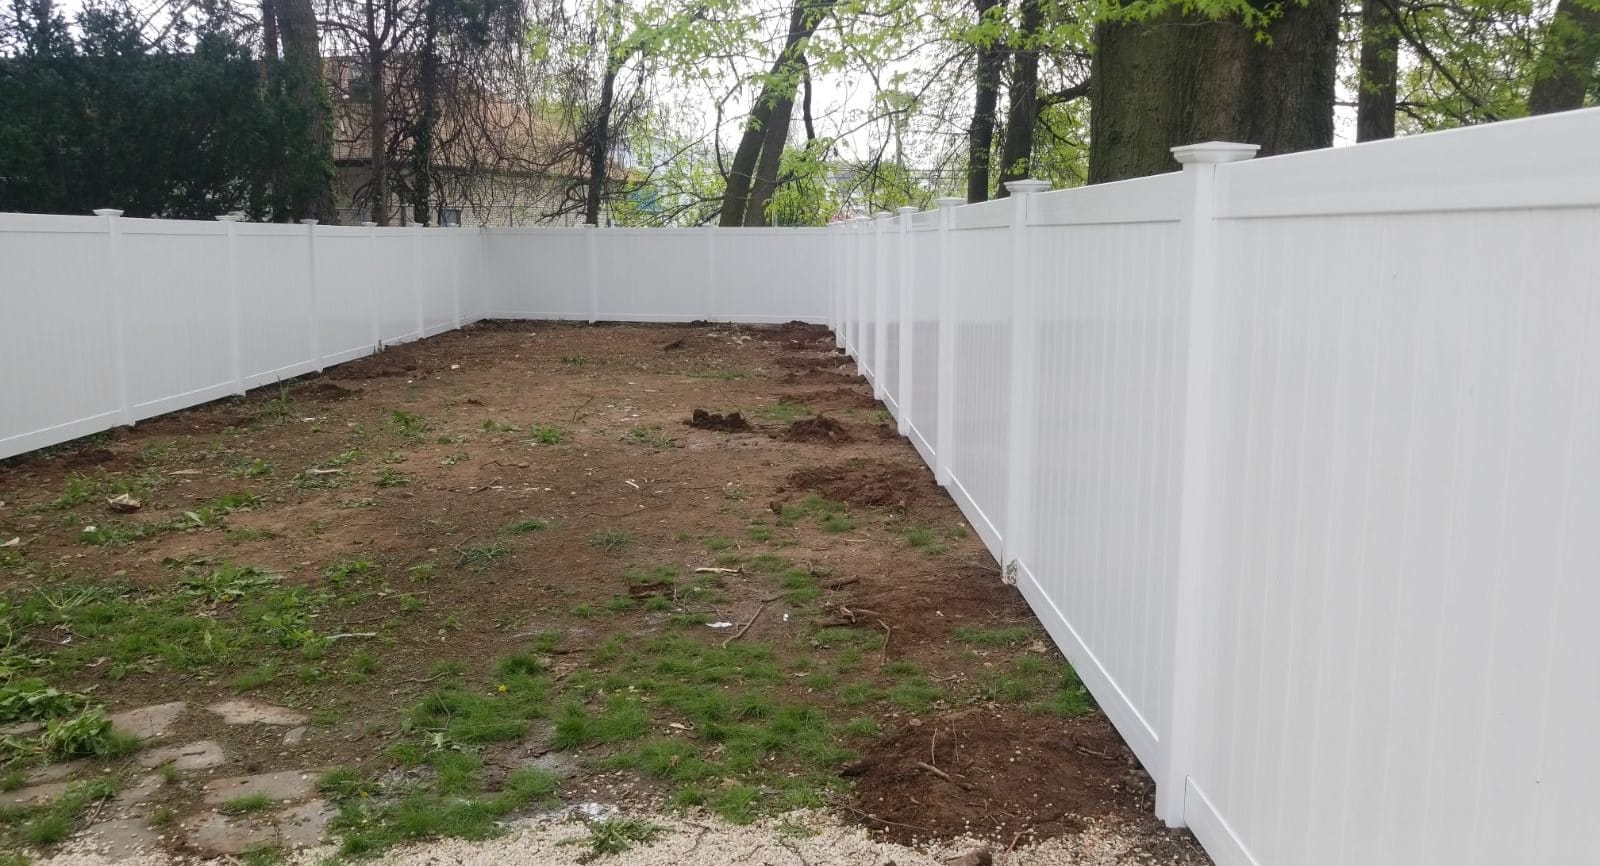
In the years of being a professional in this particular line of work, I have seen quite a number of homeowners take on this task and get really good results, while others utterly fail. Whatever your goal is—be it enhancing the aesthetic appeal of your property, adding some privacy, or just demarcating your space—the process of installing a fence yourself could prove quite rewarding. It saves you money by not having to hire someone to do it for you, you get to make it precisely the way you want, and you get that nice feeling associated with accomplishing something yourself.
I still remember my very first do-it-yourself project—building a fence. I was that proud young homeowner who had just wanted to economize on certain fixtures and try his hand at some do-it-yourself tasks. Little did I know, my enthusiasm was going to be set aside as I fought uneven ground, rebellious holes for posts, and a few trips back to the hardware shop. With each challenge, there was a lesson to be learned, which I am excited about sharing with you today.
Although it might look like an overwhelming task to a lot of people, I'm here to reassure you that with proper preparation and knowledge, one can get professional results. Put on those work gloves and let me take you through the seven most essential tips, which will help you save time, avoid common mistakes, and stay within budget.
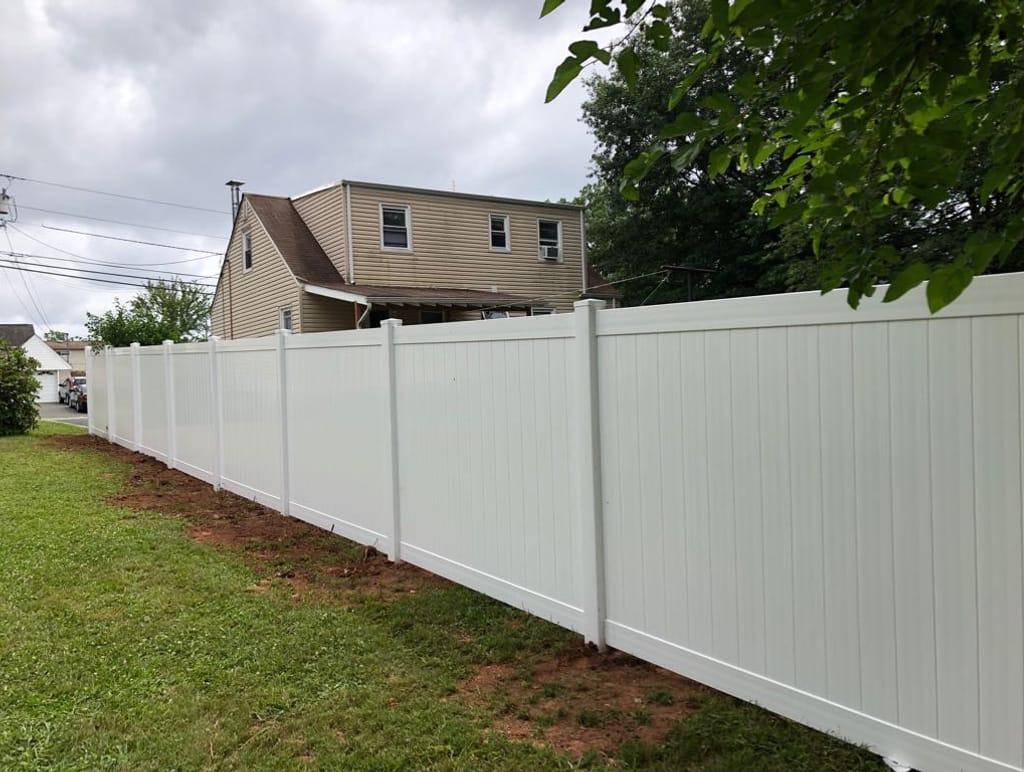
1. Plan Before You Dig
Research Local Regulations and Permits
Do your homework well before you even want to grab that shovel. There's nothing quite like a visit from the local authorities—or, worse, an angry HOA representative—to put a damper on your fence project.
I once had a client who chose to circumvent this process. He built a beautiful 8-foot-tall privacy fence, only to find out his town had a 6-foot height limit. Yep, he had to tear it down and got hit with a pretty substantial fine in the process, too. Don't let that happen to you!
Spend the appropriate time checking with your local building department about:
- Maximum fence height allowed
- Setback requirements from property lines
- Any restrictions on materials
- Permit requirements
Many suburbs have very specific laws regarding fence installation, particularly around corner lots or properties with intersecting streets. It's far better to take a little time researching than to suffer the consequences later.
Mark Your Property Lines
It may sound like an obvious point, but you'd be surprised at how many fence disputes are the result of a misunderstanding about the property boundaries. I've witnessed neighbors go from being warm with each other to feuding in an instant because someone put a fence three inches off the line.
If you don't know where your property lines are, then you should pay for a professional survey. Yes, it's additional money out of your pocket, but you will save that amount of money over either moving a fence or going to court about some kind of property boundary issue.
Pro tip: Even if you're sure of your boundaries, it's a good neighborly thing to do to discuss your fence plans with adjacent property owners. This may help prevent misunderstandings and may even result in cost-sharing should they also be interested in a shared boundary fence.
2. Choose the Correct Materials for Your Climate and Budget
Wood vs. Vinyl vs. Metal
Choosing the right material is also important for the survival of your fence and for your wallet. Here in New Jersey, we have everything from scorching summers to freezing winters, so your fence needs to be up to the task.
Let's break down some popular options:
1. Wood: Classically traditional, wood provides natural beauty and is versatile in its use. Cedar and pressure-treated pine are among the most popular in our area because of their resistance to rot and insects. Wood is generally more affordable upfront but requires regular maintenance (staining or sealing every few years).
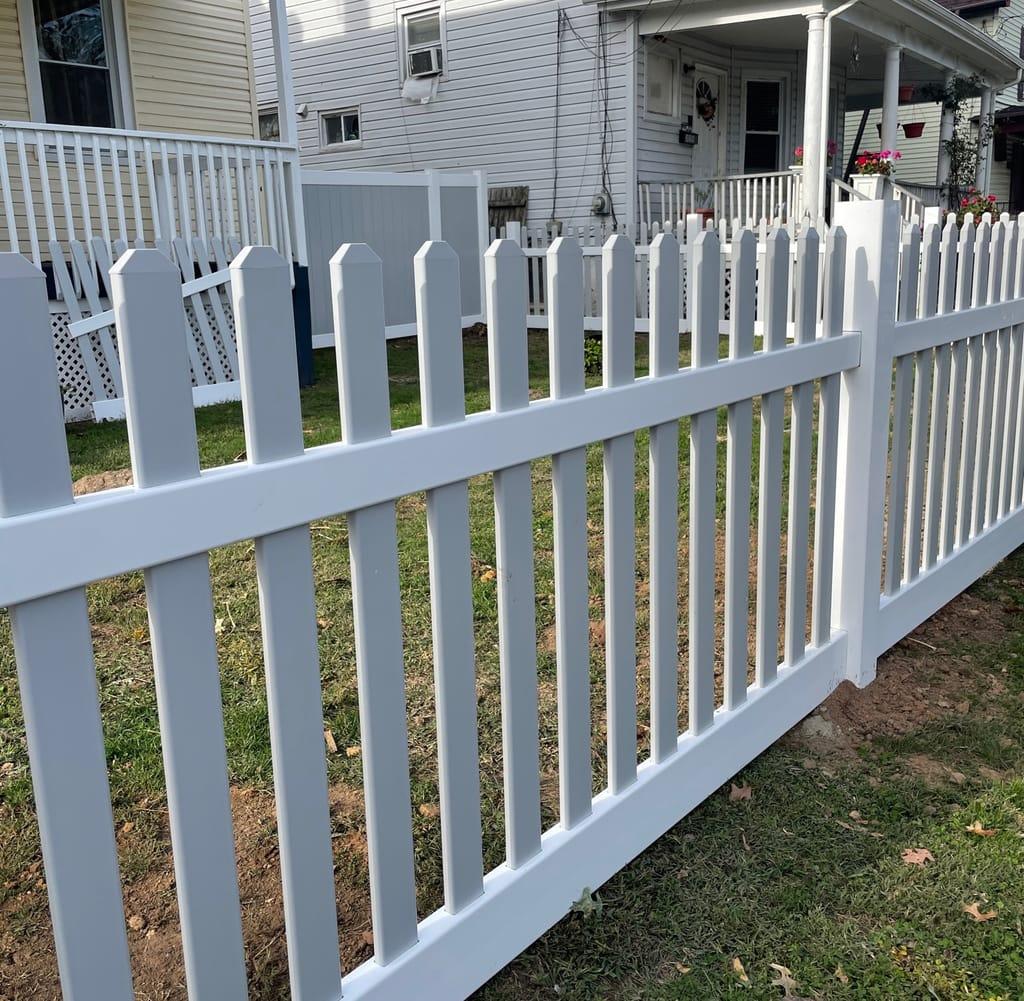
2. Vinyl: Very low maintenance and comes in different styles. It's a bit more costly upfront but can be super cheap in the long run due to durability and not much upkeep required. Vinyl does quite well during harsh winters; however, in extreme cold, vinyl becomes brittle.
3. Metal: Aluminum and wrought iron are very durable and give a clean, modern look. Metal fences provide good security, but they are one of the pricier options.
I once had a customer who insisted on a wood fence simply because it was cheaper at the time. Two years later, he called me back to change it out to vinyl once he began to realize how much time and money he was spending every year on maintenance for the wood fence. Sometimes spending a little more upfront can save you big in the long run.
Durability and Aesthetic Appeal
While durability is paramount, don't sacrifice curb appeal: your fencing is among the first things people see when they look at your house.
On a more classic suburban house, this could mean white picket fencing or natural wood that complements the architecture. In the case of a modern house, sleek aluminum or dark-stained wood might be just what you need.
Remember, a well-chosen fence will considerably increase the value of your property. So do not be in a hurry; take some time to find the right one that can balance durability, maintenance needs, and aesthetic appeal.
3. Prepare the Tools and Materials
Necessary Tools for Seamless Installation
Having good tools can make or break your experience. Here is a checklist of some of the most important ones:
- Post hole digger (manual or powered)
- Level (4-foot level is good to go)
- Tape measure
- Hammer drill and drill bits
- Circular saw
- String line
- Shovel
- Wheelbarrow (for mixing concrete)
If working on a larger project, it would be better to rent a gas-powered auger to be able to dig post holes. I am sure your back will thank you later. I remember spending an entire weekend digging holes manually for my very first fence. By Monday, I could barely move! Learn from my mistake and make the job easier on yourself.
Don't skimp when buying the supplies. It is very tempting to go for the cheapest option, but again, this may turn out to be a false economy. Investing in the following is key:
- High-quality, weather-resistant fasteners: galvanized or stainless steel
- Hardwood or pressure-treated posts and rails if using wood
- Top-of-the-line concrete mix for setting posts
I have seen so many fences become victims of rust and rot just because of low-quality material. Spending on good-quality materials will save you a lot in the future since you won't be replacing the fence every now and then or repairing it frequently.
4. Lay Strong Foundations
Reasons for Setting Posts Properly
If there is one thing I want to impress on you in this post, it is the importance of properly set posts. They are the backbone of the whole fence, and if you don't get them right, you will be behind the eight-ball for the rest of the project.
For setting posts in New Jersey, we consider frost heave. You generally want your post holes to be at least 36 inches deep—or below the frost line—so the freezing and thawing of the ground doesn't push your posts out of alignment.
Set your posts with quick-setting concrete. Mix it in a wheelbarrow, pouring it around the post to set it. Make certain the post is plumb in all directions. For this, a post level is very valuable.
Spacing and Alignment
The general spacing for the fence posts is 6 to 8 feet, although always check on the specifics of the kind of fencing you use.
Set up a string line to keep your posts aligned in a straight line. It may be an easy trick, but it will make a world of difference in the final look of your fence.
5. Work Smart, Not Hard
Pre-Measure and Pre-Cut Materials
One of the best timesaving tips I can offer is to pre-cut your materials. Take the time to measure and cut all your fence boards or panels before you start installation. This assembly-line approach minimizes interruptions and keeps you in a productive rhythm.
I like to set up a cutting station with sawhorses and my circular saw. It's a lot easier trying to make cuts, and safer too, than balancing on a ladder or kneeling in the dirt.
Use a Post Level and Fence Templates
A post level is a handy little tool that wraps around your post and shows you if it's plumb in all directions. It is much easier to use than a conventional bubble level, as it saves you a whole lot of headaches.
For consistent spacing between fence panels or pickets, make a simple template out of scrap wood. This ensures uniformity along the entire length of your fence without much measuring.
Get Help When You Need It
Don't be ashamed to ask for help. An extra set of hands will make the job go much faster, especially when you are setting posts or hanging heavy panels. And it's a fabulous excuse for a BBQ with friends afterwards!
6. Finish Strong: Protect Your Investment
Proper Sealing or Painting
If you have a wood fence, don't forget the most critical step: sealing or staining. It protects the wood from moisture, UV damage, and insects, adding years to its life.
For materials such as vinyl and metal, periodic cleaning keeps them beautiful. Just a little soap and water and a soft-bristled brush are all it takes to make them look as good as new for many years.
Inspect and Maintain Your Fence
Set a reminder to have your fence inspected each year. Make note of any loose boards, evidence of rotting, or any destruction from storms and/or pests. This will help you to identify issues before they become more serious—and costly—repairs.
I once had a client who didn't pay any attention to his wooden fence for years. When he finally called me, what could have been a simple repair became a complete replacement. A little preventive maintenance goes a long way!
7. Know When to Call in the Pros
Recognize Your Limits
Though installing fencing yourself can save you a few bucks, one needs to know when the job may fall beyond their skills or available time. Difficult terrain, custom designs, or fences around pools—which have specific safety requirements—are better left in professional hands.
Find a Professional for an Estimate
Even as a DIYer, there is nothing wrong with reaching out to a fence contractor and asking for an opinion or advice on a design, type of material, or best practice. Many are quite willing to share their expertise, which could save you time, money, and costly mistakes while achieving far superior results.
Conclusion: Build with Confidence and Save Money
All in all, building a fence yourself is often one of the most challenging but rewarding tasks. If you follow these seven tips-from doing very detailed planning and selecting the right materials to laying solid foundations and maintaining your fence-you will also be able to add an attractive, long-lasting element to your property while saving money in the process.
Just remember: Proper preparation makes a world of difference. Take your time to research, acquire the appropriate tools and materials, and never rush through such important steps as setting posts. With great patience and attention to detail, you will accomplish professional-looking results that you will be proud of every time you pull into your driveway.
And if you ever reach a point in this process where you think it's getting beyond your abilities, remember there is no shame in calling in a pro to help. After all, the objective of this journey is to have a beautiful, functional fence-whether it is wholly constructed by your hands or with a little expert assistance.
Now, take out those work gloves and start planning that project for your fence. Before you know it, you will be enjoying your new outdoor space, and the satisfaction of a job well done!